Join Workspace
As a team member, getting started with Ringo is quick and easy. This guide walks you through each step a team member needs to go through to join an already existing workspace in Ringo.
Last updated 11 months ago
1. Download the Ringo App
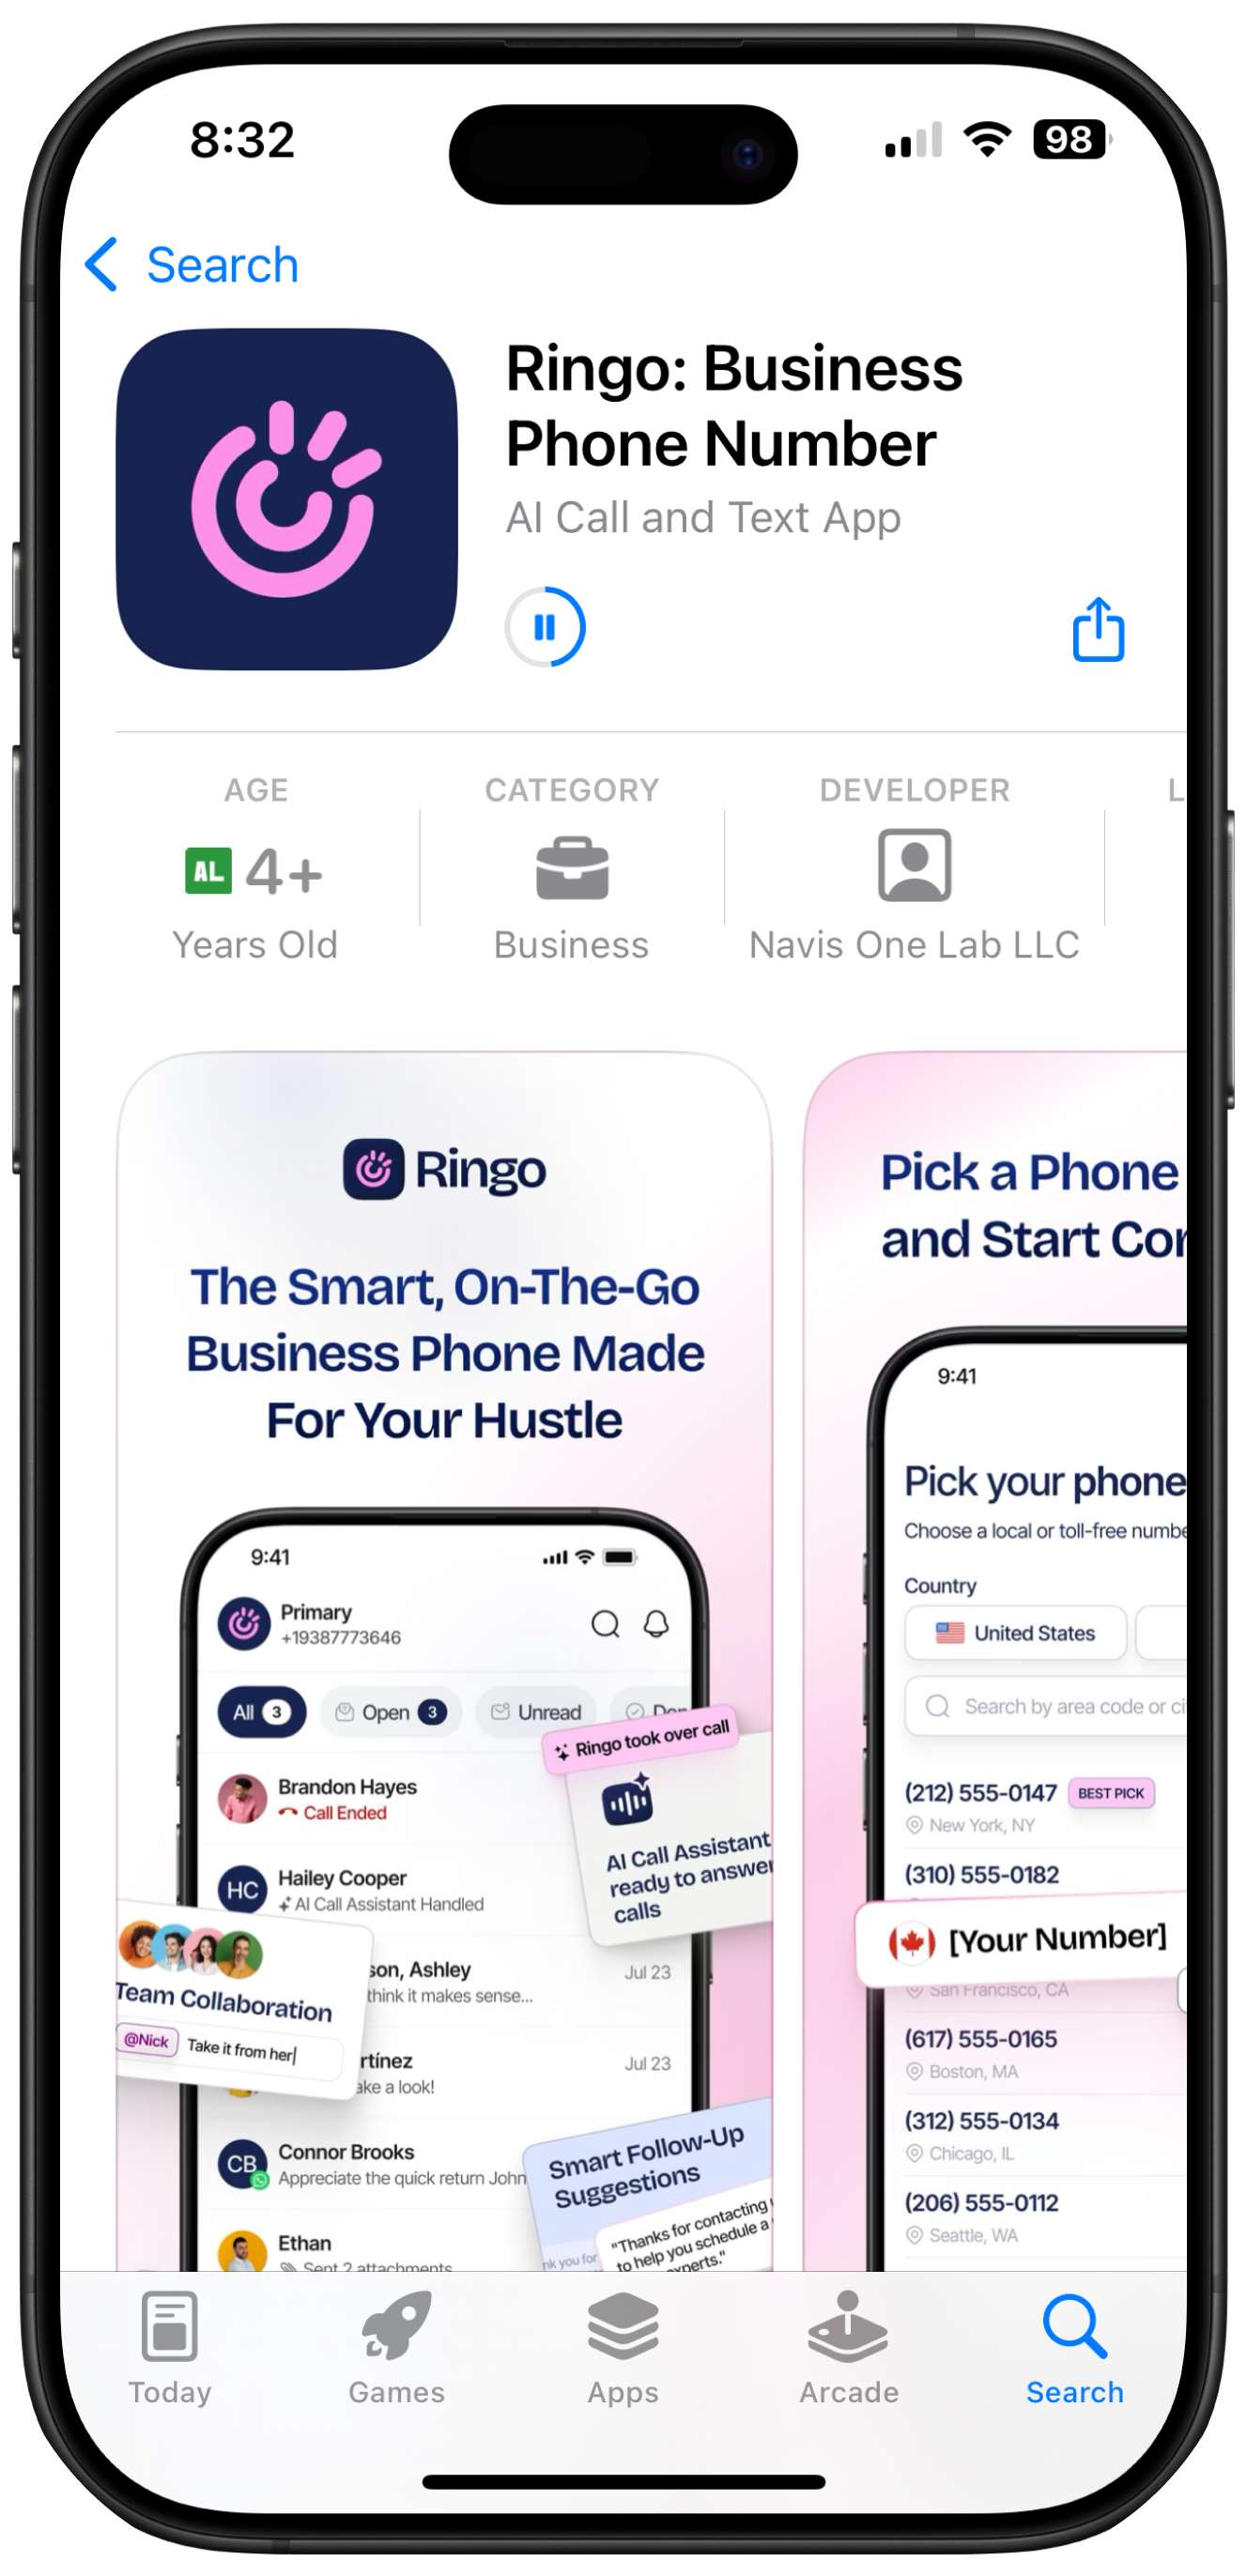
As a team member, the first thing you need to do is download the app on your mobile.
2. Receive Workspace Email Invite
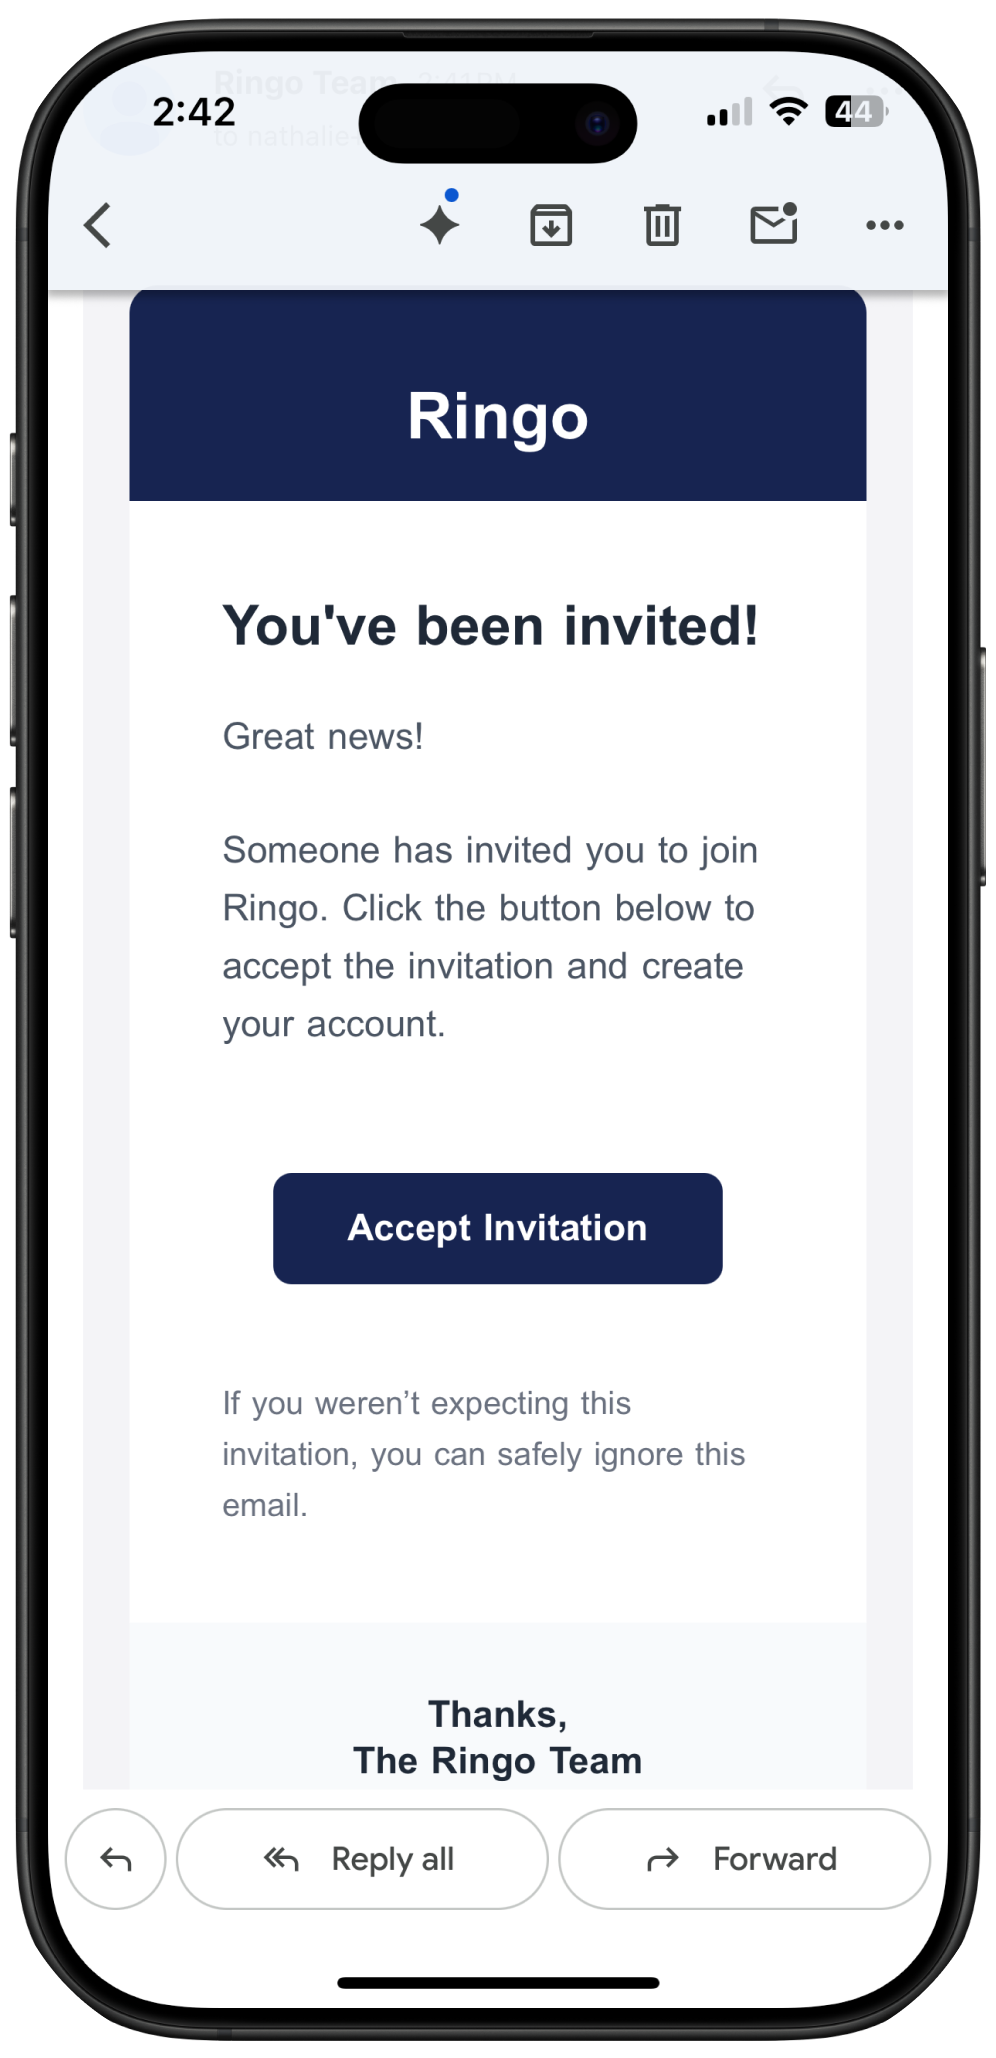
Your workspace owner or any admin must send you an invitation to join their workspace. Once it arrives, check your email inbox for the message from Ringo and click “Accept Invitation” to get started.
3. Open Ringo
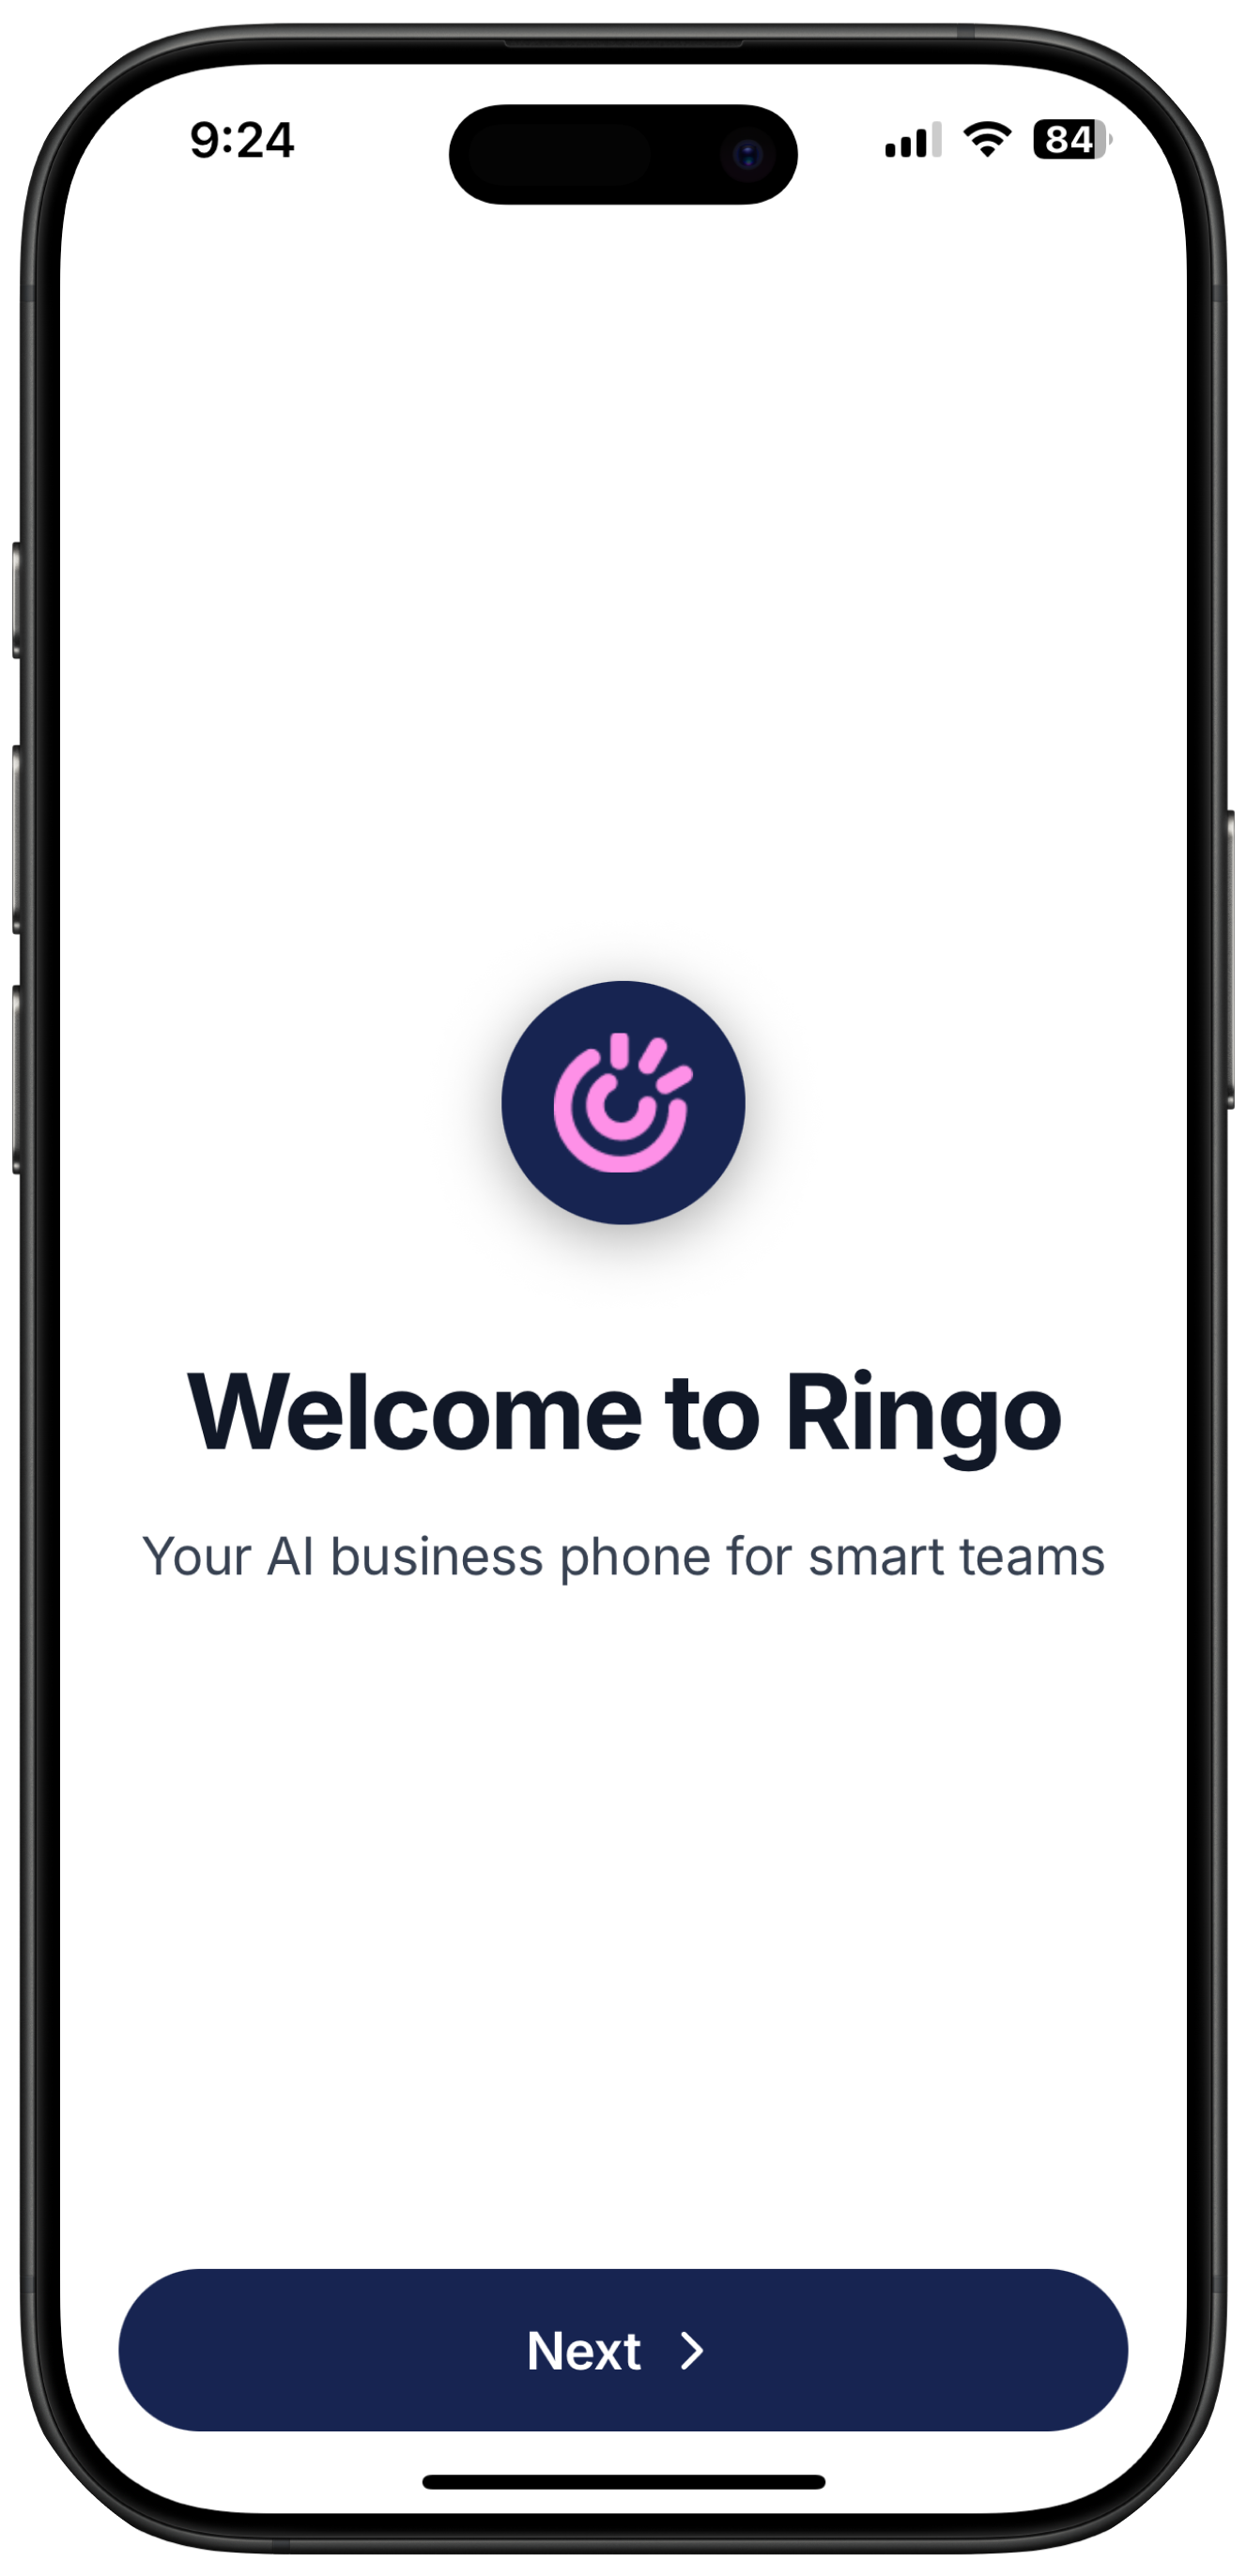
The link will automatically take you to Ringo where you can start joining your workspace.
4. Insert your email
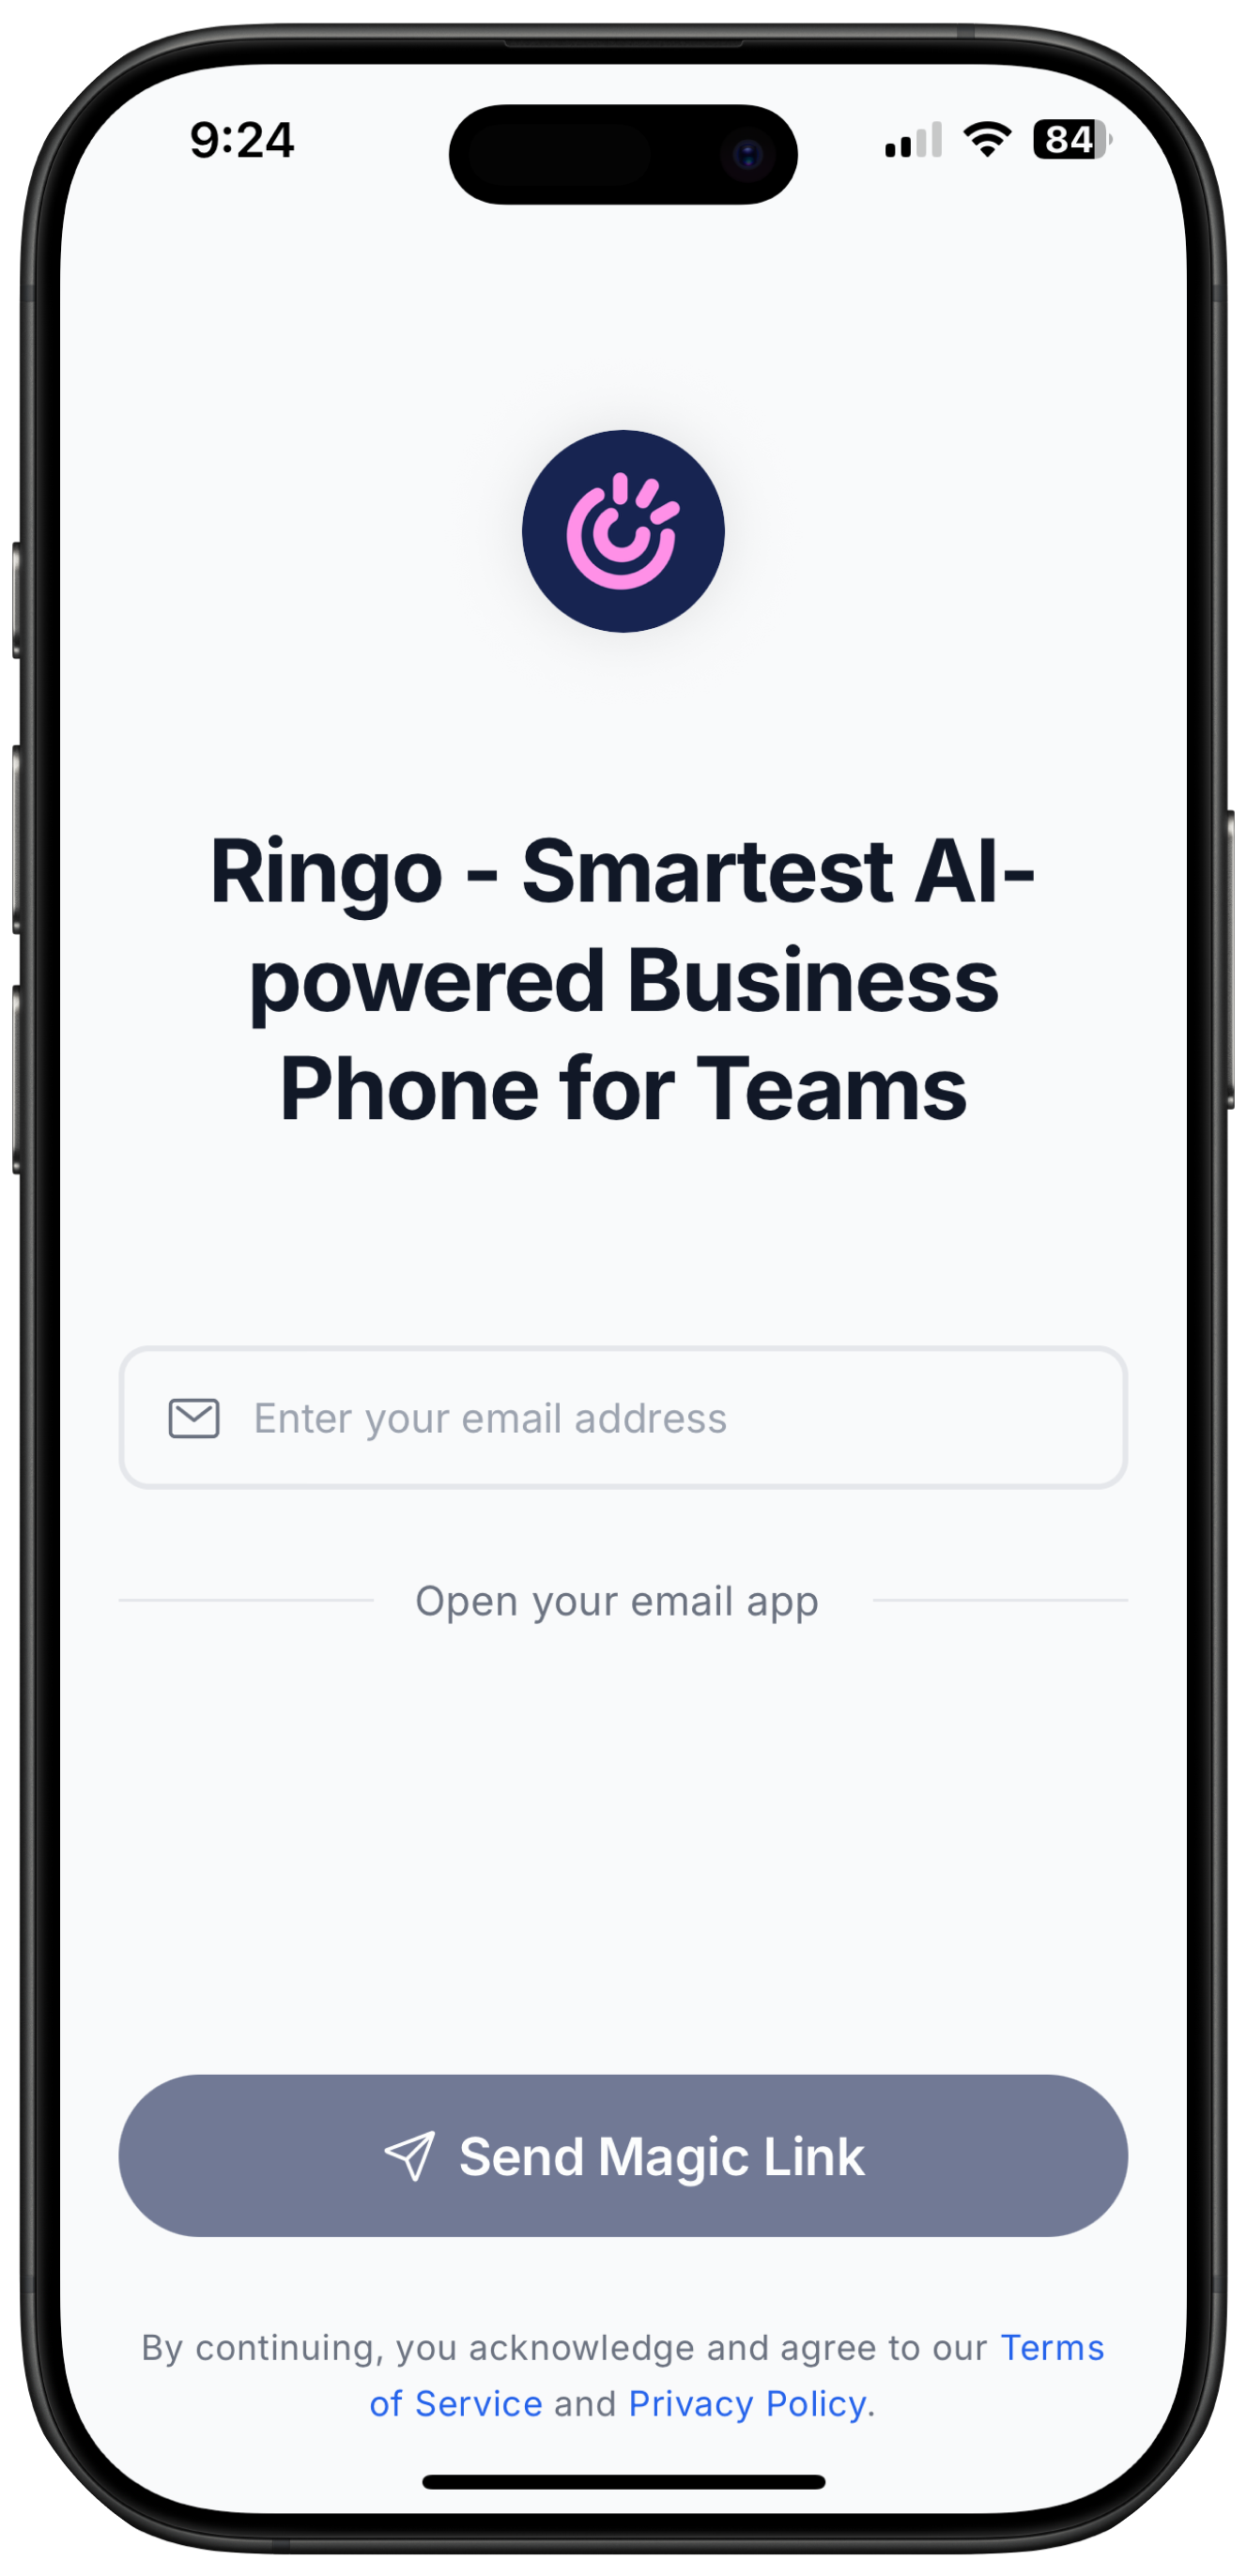
Login with the same email address the invite link was sent to, there is no need to create a password. A magic link will be sent to your inbox.
5. Open your inbox to verify your log in
Confirm your sign up by clicking on “Log In to Ringo”. Once done, you will be taken back to the Ringo app.
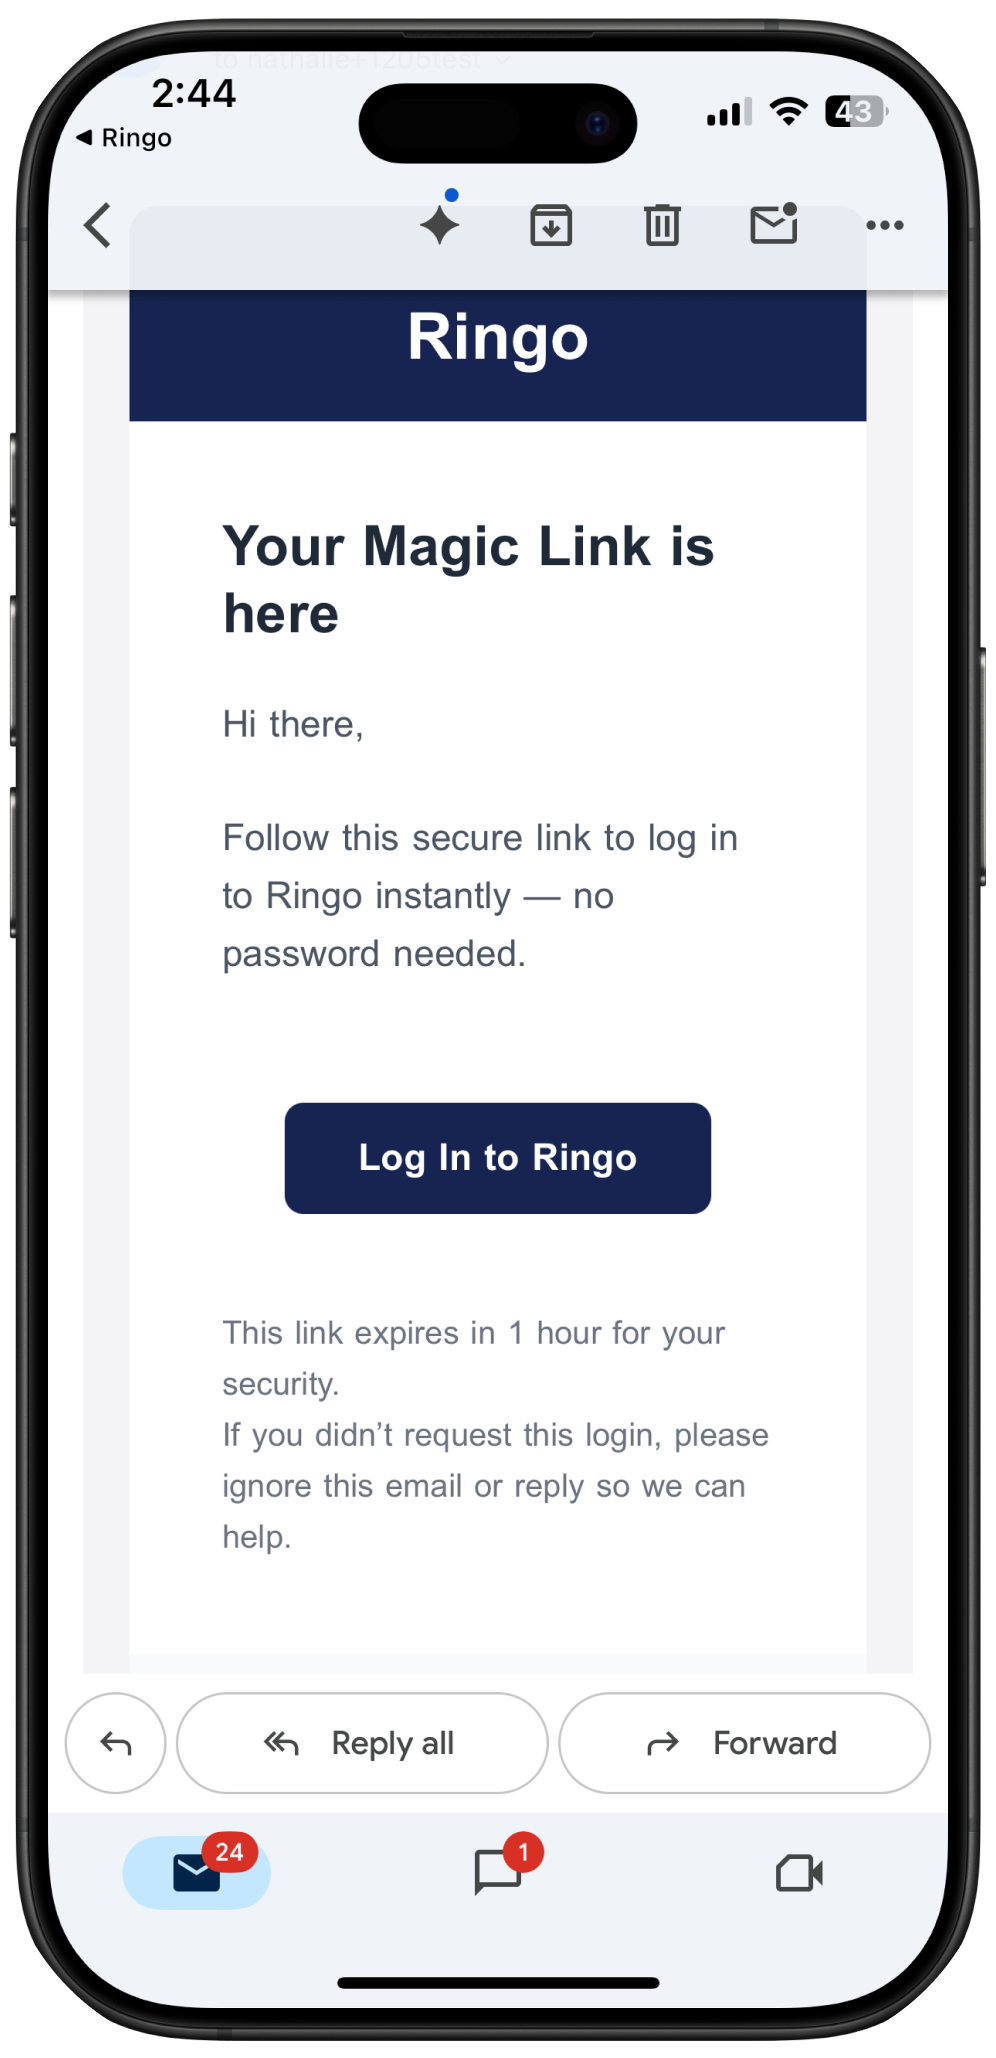
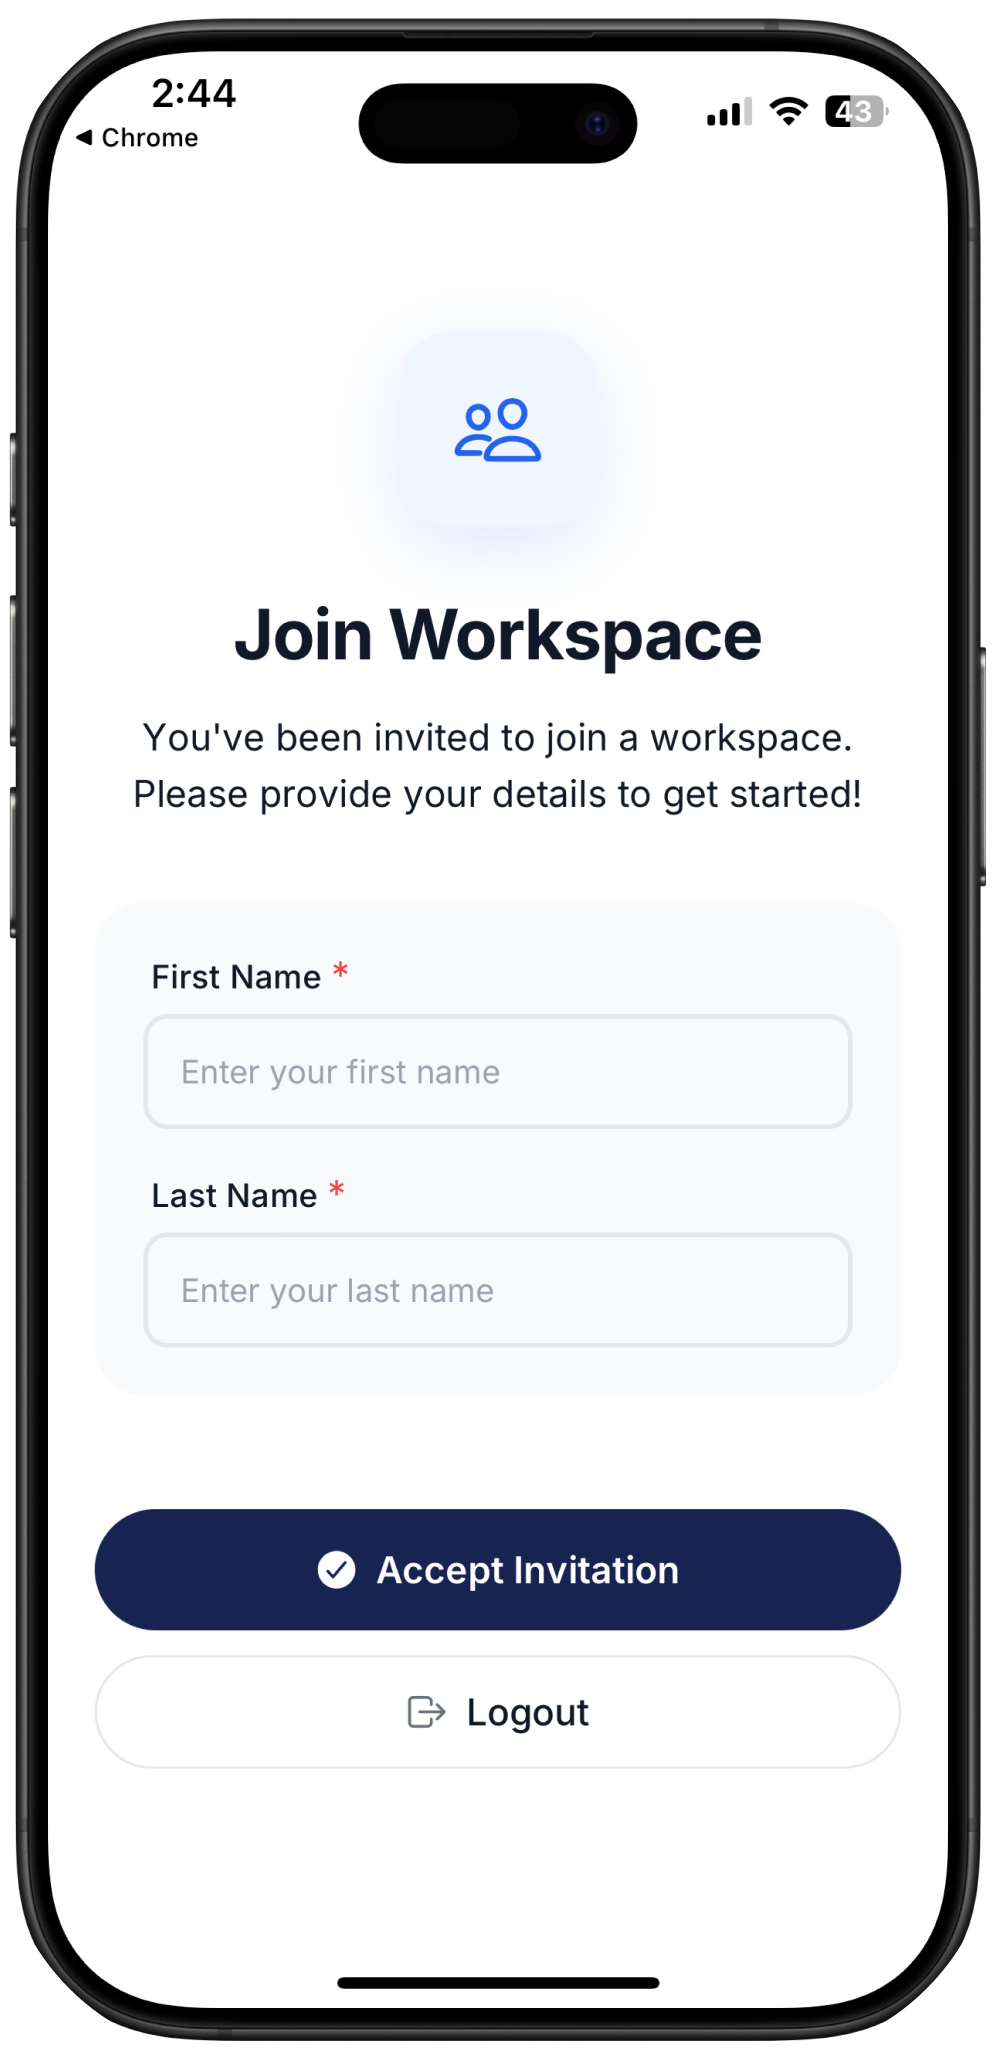
6. Insert your information
Write down your first and last name to accept the invite and join the workspace. Make sure to enable notification and microphone access to the app. And that’s it, you’re in!
And now you’re in as a team member! If you want to learn more about collaborative tools check here.
FAQs
What are the differences in team access rights?
What are the differences in team access rights?
Admins handle all essential setup tasks, including carrier registration, the AI call assistant, WhatsApp registration, and WA message templates. They can also remove members from the workspace. Team members can invite new teammates but cannot remove anyone. They can, however, configure their own AI message assistant settings. For more information on team access check here.
Can I change my name after the onboarding?
Can I change my name after the onboarding?
Yes you can change your name from your settings even after the onboarding
Was this helpful?
Still need help? Share an idea